Easy Shutter Fold Card
Such a fun card! I can't stop opening it..
Så roligt kort! Jag kan inte sluta öppna det..


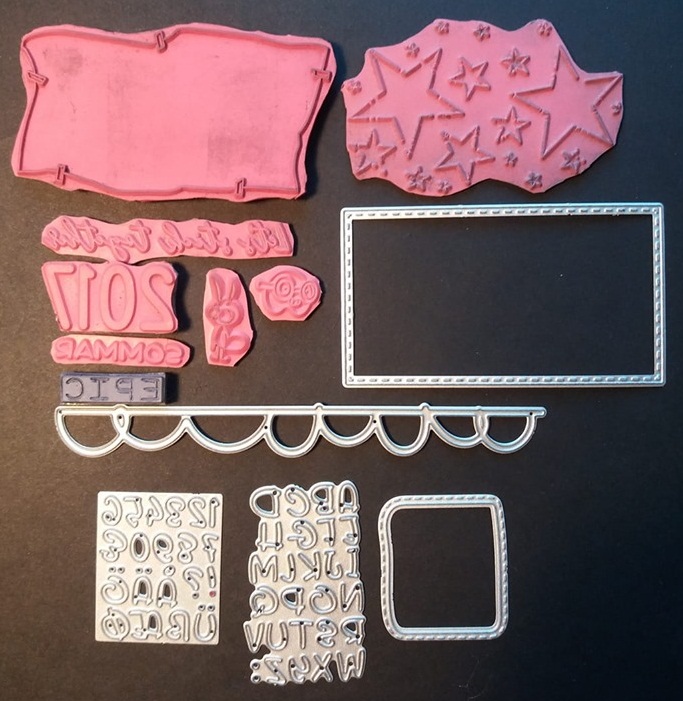
This is what I use to make this card
Det här har jag använt för att göra detta kort

Template
(Ps. I choose not to have pattern paper in my card, I used stamps instead)
1 piece of cardstock 10" x 6" (cardbase)
Score along the 10" side at 2 1/2" & 7 1/2"
4 pieces of pattern paper 2 1/4" x 5 3/4" (mat for the front and inside doors of the card)
2 pieces of pattern paper 4 3/4" x 5 3/4" (mat for the inside and backside of the card)
1 piece 7" x 3 1/2" cardstock for the middle panel (a)
Score along the 7" side at 1/2" & 6 1/2"
1 piece of 3 1/4" x 5 3/4" pattern paper for the middle panel (b)
2 pieces of 3 1/2" x 3 3/4" cardstock for the shutter mechanism (d)
Score both pieces (d) along the 3 3/4" side at 1/2"
1 piece 3 1/4" x 3 1/4" cardstock to stamp your message (c)
1 piece of 2 1/2" circle die for the window
This are the pieces and let's put them together.

- Attach the pattern pieces on to the cardbase ( the doors & inside/backside of the card)
- Attach piece b on to piece a (middle panel). Diecut a window using a 2 1/2" circle die. It should run through the machine. If not, take one at the time instead.
- Diecut a frame in cardstock with the circle die 2 1/2" and a die that are a bit bigger.
- Attach the frame on to the piece a/b
- Place piece c under the a/b piece and draw along the inside of the circle ( so you know where to stamp your message) . Stamp your message on to piece c. Attach double sided tape on to the backside.
- How to attach piece c on to the inside panel at the cardbase. To make sure the message is in the middle of the window; take piece a/b, put c under so that the message is in the middle. Keep the pieces together and put them on to the inside of the cardpanel. Make sure that the scorelines at piece a/b are in line with the cardbase edges top and bottom. Attach piece c on to the middlepanel.
- Now you are going to attach piece a/b on to the middle panel. Put double sided tape on to the tabs that are scored, fold them and attach them inside the middle panel. (at the picture below you can see how you attach the panel, the example doesn't have a window)

- The shutter mechanism: Make a mark along the 3 1/2" side at 1 3/4" and 1 1/2" in from the edge. Cut from each corner up to the mark ( from the side that hasn't got a scoreline). In the picture below you can see the mark on the mechanism to the left and to the right it has been cut.

- Attach double sided tape on the tabs.
- Put the mechanisms against each other (the sides that you cut), double sided tape facing up. The tip of each mechanism parts are going to overlap. There shouldn't be a hole in the middle when you put them together all the way.

- Put the mechanism by holding them together under the a/b part. The scorelines of the mechanism should line up with the side of piece a. Make sure that the opening will be in the center.
- Take away the protection from the double sided tape and fold over the doors.
Now it's time to decorate your card and make a belly band if you want it.
Beskrivning
(Ps. Jag valde att inte använda mönstrat papper utan stämplade istället)


1 del cardstock 10" x 6" (kortbas)
Biga längs sidan 10" - 2 1/2" & 7 1/2"
4 delar mönstrat papper 2 1/4" x 5 3/4" (till insidan och utsidan av dörrarna)
2 delar mönstrat papper 4 3/4" x 5 3/4" (till insidan och baksidan av kortbasen)
1 del 7" x 3 1/2" cardstock till mittenpanelen (a)
Biga längs sidan 7" - 1/2" & 6 1/2"
1 del 3 1/4" x 5 3/4" mönstrat papper till mittenpanelen (b)
2 delar 3 1/2" x 3 3/4" cardstock till stängningsmekanismen (d)
Biga båda delarna (d) längs sidan 3 3/4" - 1/2"
1 del 3 1/4" x 3 1/4" cardstock till att stämpla ditt meddelande (c)
1 del 2 1/2" circle die till fönster
Det här är delarna så nu sätter vi ihop dom

- Fäst delarna med de mönstrade pappret på kortbasen. Utsidan och insidan av dörrarna. Insidan och baksidan av mittenpanelen.
- Fäst del b på a- delen med dubbelhäftande tejp.
- Stansa ut ett fönster med 2 1/2" die på del a/b, borde gå igenom båda. Om inte ta en del i taget.
- Stansa ut en ram i cardstock med cirkeldiesen 2 1/2" och en dies som är något större. Så att du får en ram. Fäst ramen på fönstret på a/b delen.
- På del c ska ditt meddelande stå. Passa in den under a/b delen och rita längs insidan av cirkeln, så att du vet var du ska stämpla.
- Nu ska meddelandet, del c fästas på mittpanelen på kortbasen. Fäst dubblehäftande tejp på baksidan. Lägg c delen under a/b, se till att c inte sticker ut i kanterna och centrera meddelandet i mitten. Håll ihop delarna och lägg dom på mittpanelen. Se till att biglinjen a/b delen hamnar på kortbasens överkant, då ska även biglinjen på nederkanten stämma överens.
- Fäst c delen mot mittpanelen.
- Därefter fäster du a/b delen på mittpanelen så här: Fäst tejp på flirparna som är bigade. Dom ska fästas neråt på mittpanelen. Se till att biglinjerna ligger i linje med kortbasens över och underkant.( på bilden nedan visas hur du fäster panelen, exemplet har inget fönster)

- På shutter mekanismerna ska du nu markera på sidan som mäter 3 1/2": 1 3/4" och sen 1 1/2" från kanten in mot den sidan där bigningen är gjord. På bilden nedan kan man se markeringen på mekanismen till vänster, till höger är den klippt.

- Fäst stark dubbelhäftande tejp på mekanismens flirpar, dom bigade.
- Sätt ihop mekanismerna mot varandra, de delar som du har klippt ska sättas ihop (tejpen uppåt). Spetsarna ska gå omlott. Se till att det inte blir något hål i mitten när du har fört ihop dom hela vägen.
- För in mekanismen under a/b delen medans du håller ihop båda delarna så inget hål syns. Biglinjerna på mekanismen ska ligga längs med a delen. Se till att hålet hamnar i mitten av fönstret när du drar isär mekanismen.
- Dra bort skyddstejpen och vik över dörrarna.
Nu är det dags att dekorera kortet och göra ett midjeband!
I hope that you understood my tutorial, if not please contact me and I'll help you
----------------
Jag hoppas att ni har förstått min beskrivning, om inte så kontakta mig gärna så hjälper jag dig.
Take care/ Ta hand om dig!
DT-Lena